Step 1: Design Connections:
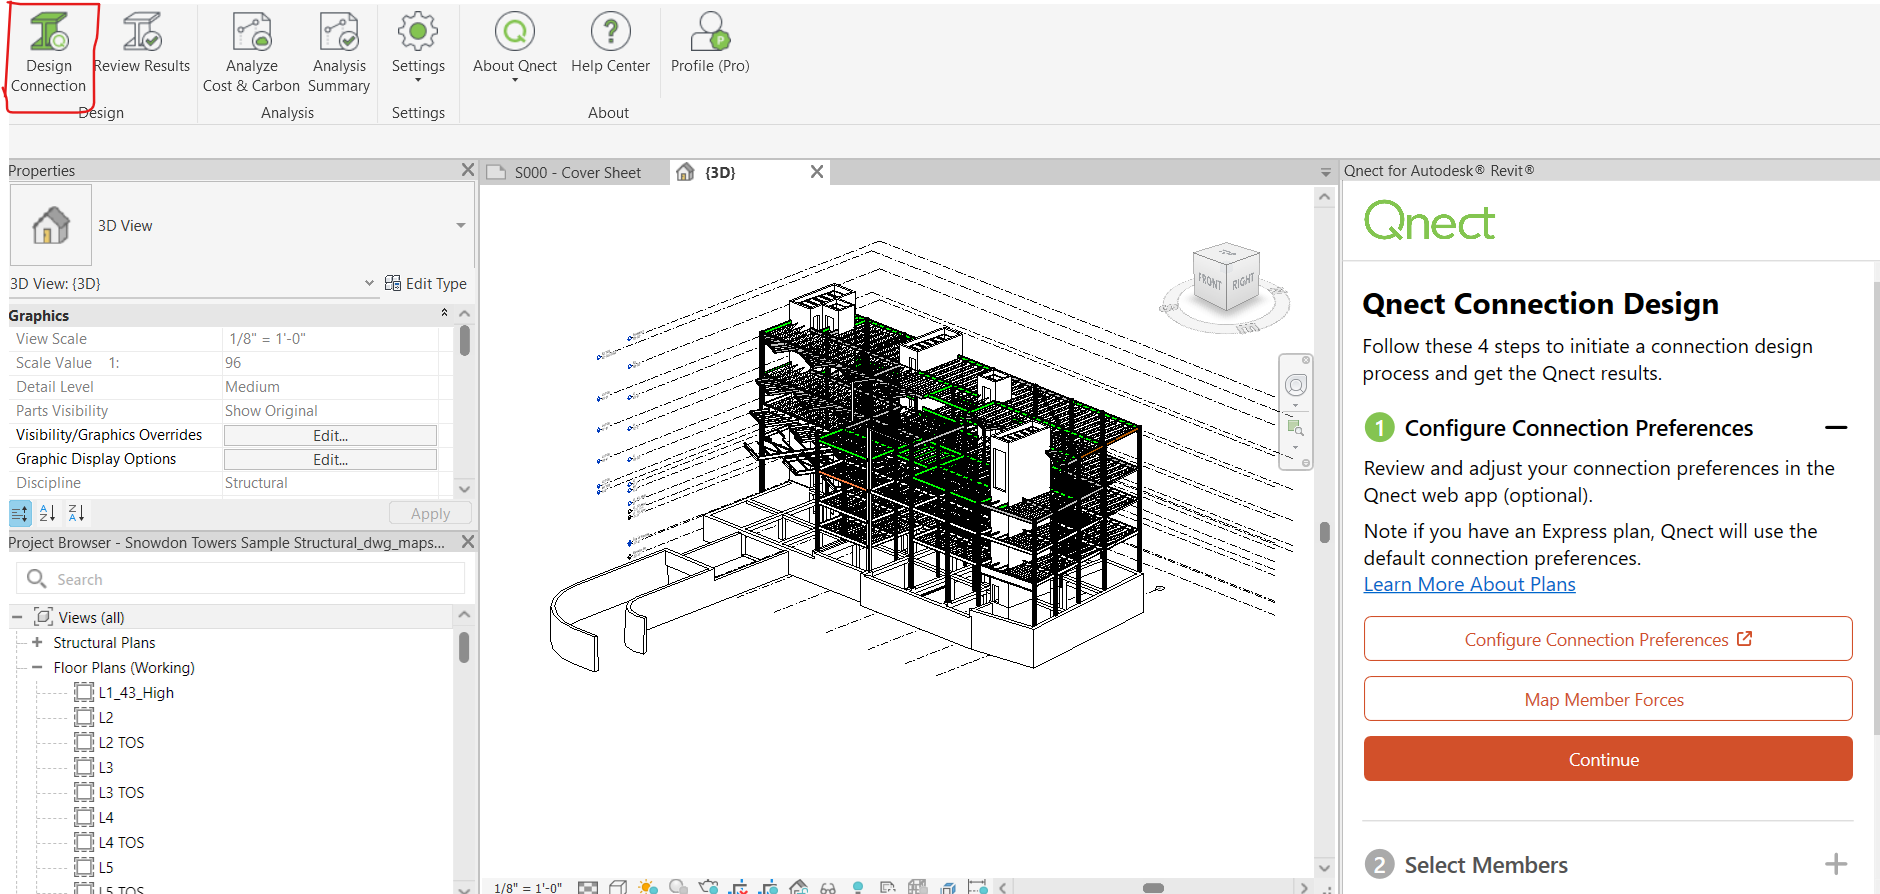
Select Design Connection button
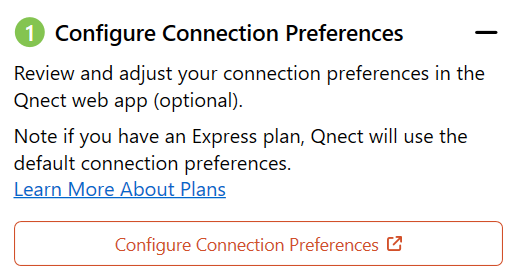
- Configure Connection Preferences. This requires logging into the project on the website. There users can set up project global settings like the design code (ASD vs LRFD), design force tables, connection types, material naming conventions and more.
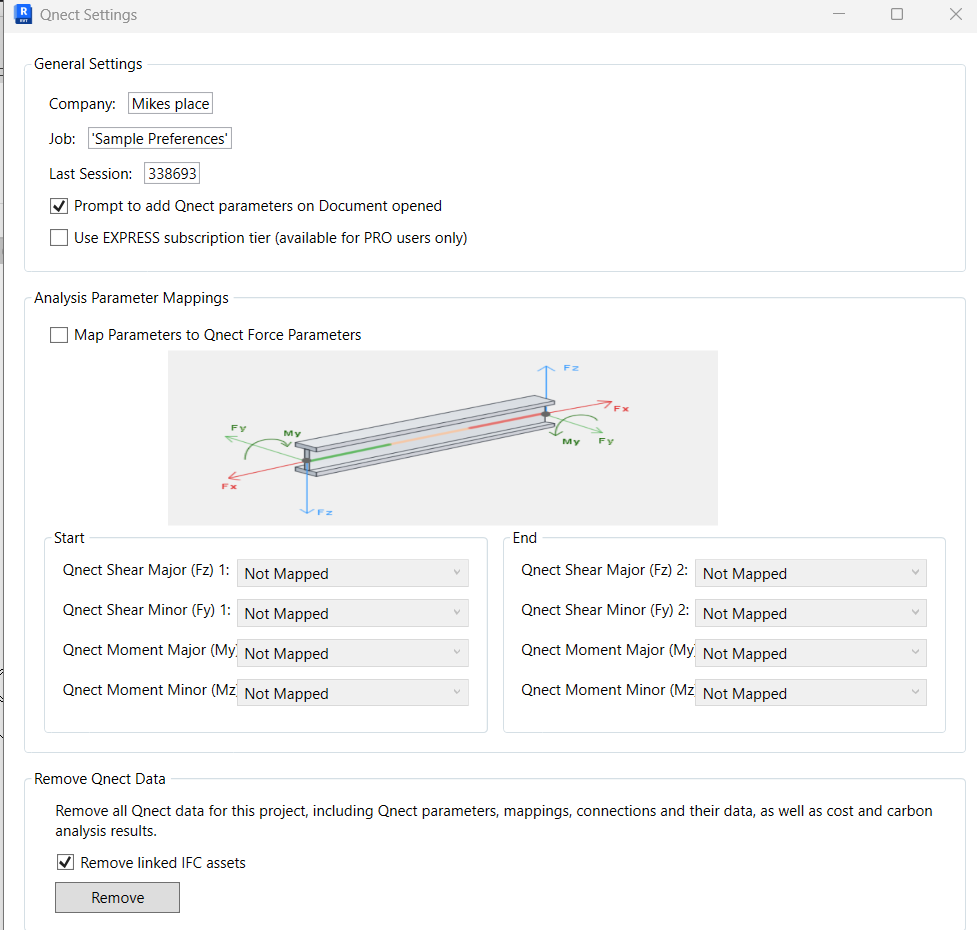
Change Project Settings. Map design forces at the member level. See free body diagram of force and moment nomenclature used in Revit. This is hard-coded based on Autodesk’s analytical model local axis naming and may vary compared to other structural analysis tools.
- Select Members - Select framing elements in the model. As a minimum, the user should select all elements framing into a joint. This is because connections relate to each other across the joint, share load paths, and together determine what is connectable or not. A good workflow is to select an entire floor or bay to investigate a subset of issues first.
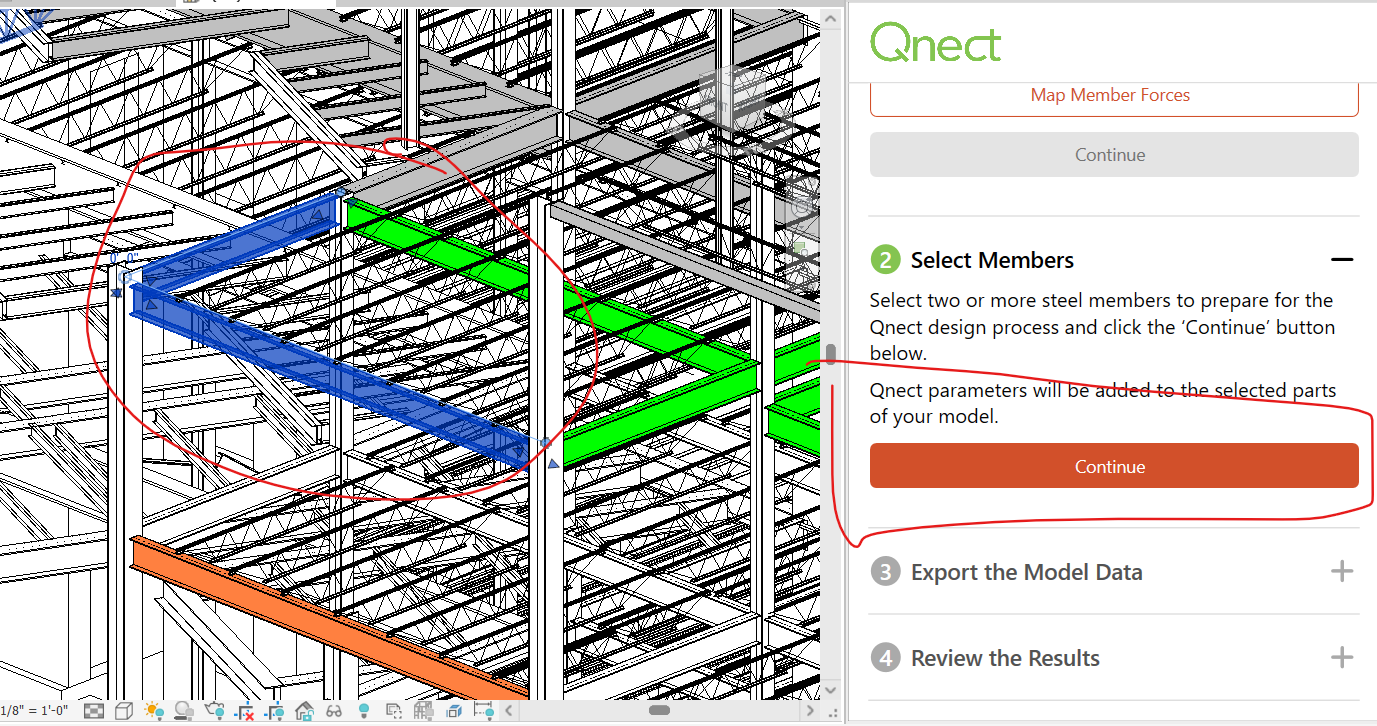
- Export Model Data. Runs analysis on cloud. Selecting the entire model is an option but will take several minutes to analyze. Estimate about 1 second per framing element selected. See hint below for how to work with larger models.
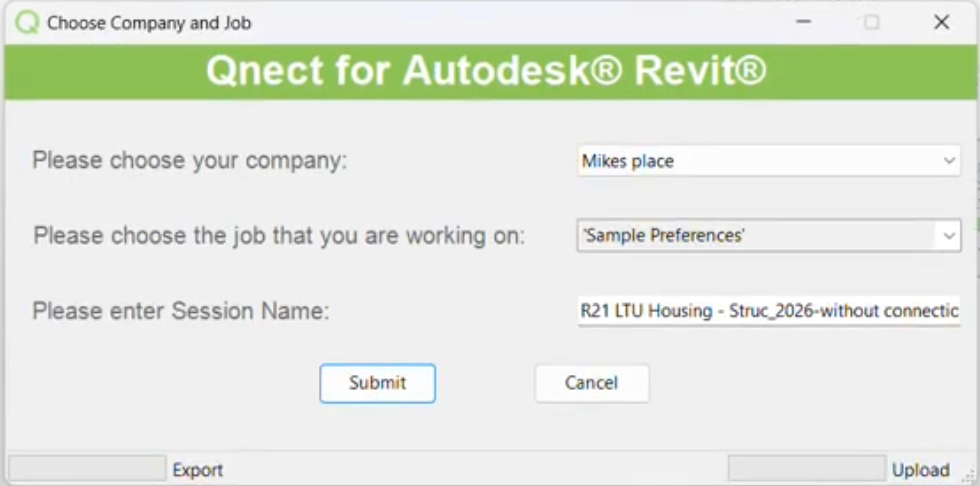
Select company and job. The project/ job name was defined on the website where you set up your project preferences. Customize the session name as desired.
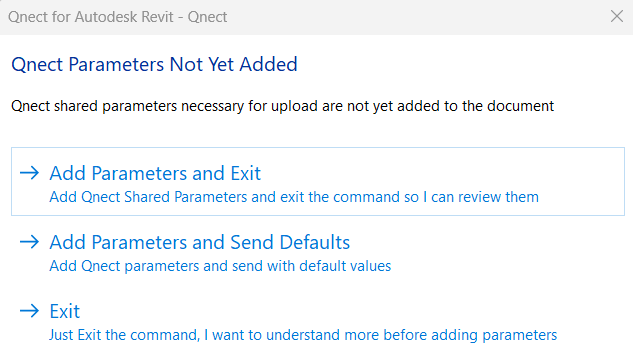
User prompt to add parameters (if you didn’t do this in the initial model set up). Select Add Parameters and Send Defaults.
Submit
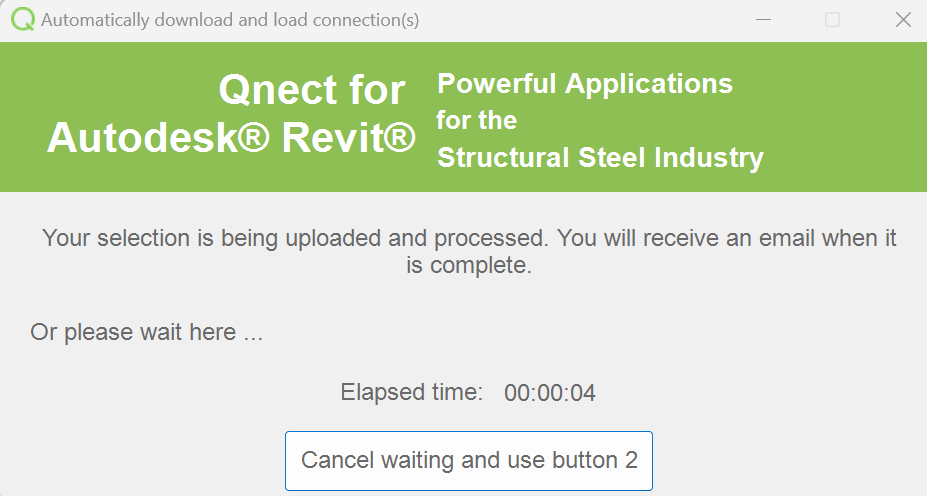
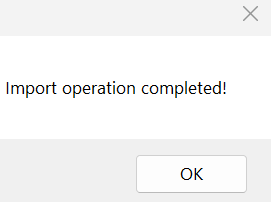
Once export is successful, a dialog box in Revit will confirm the export was successful. In addition, the user will receive an email confirmation of the export with a summary of data.
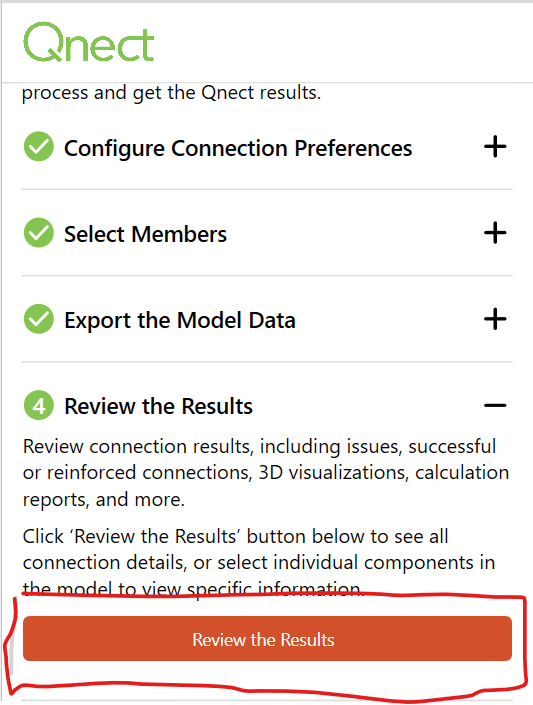
4. Select Review the Results. Then a pie chart summarizing successful joints and issues yet to resolve. Notice that it switches over to the Review Results icon in the upper left ribbon. You can access results at this icon in the future.
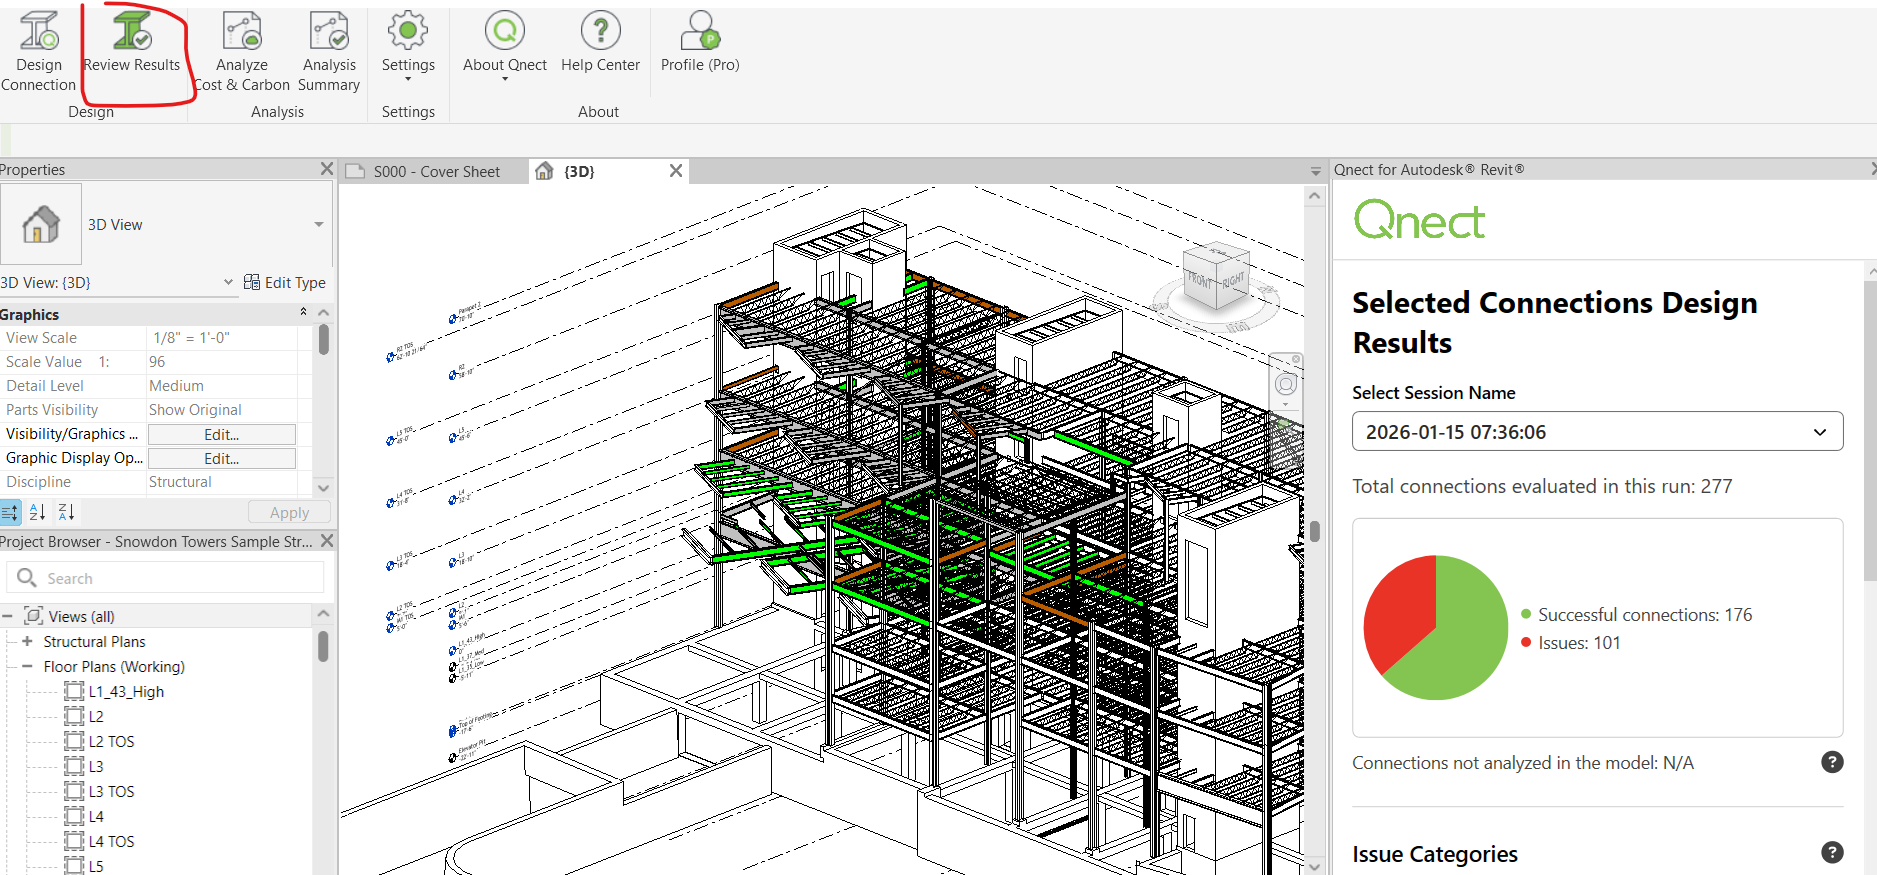
Scroll down in the dock pane to see additional information about the analysis.
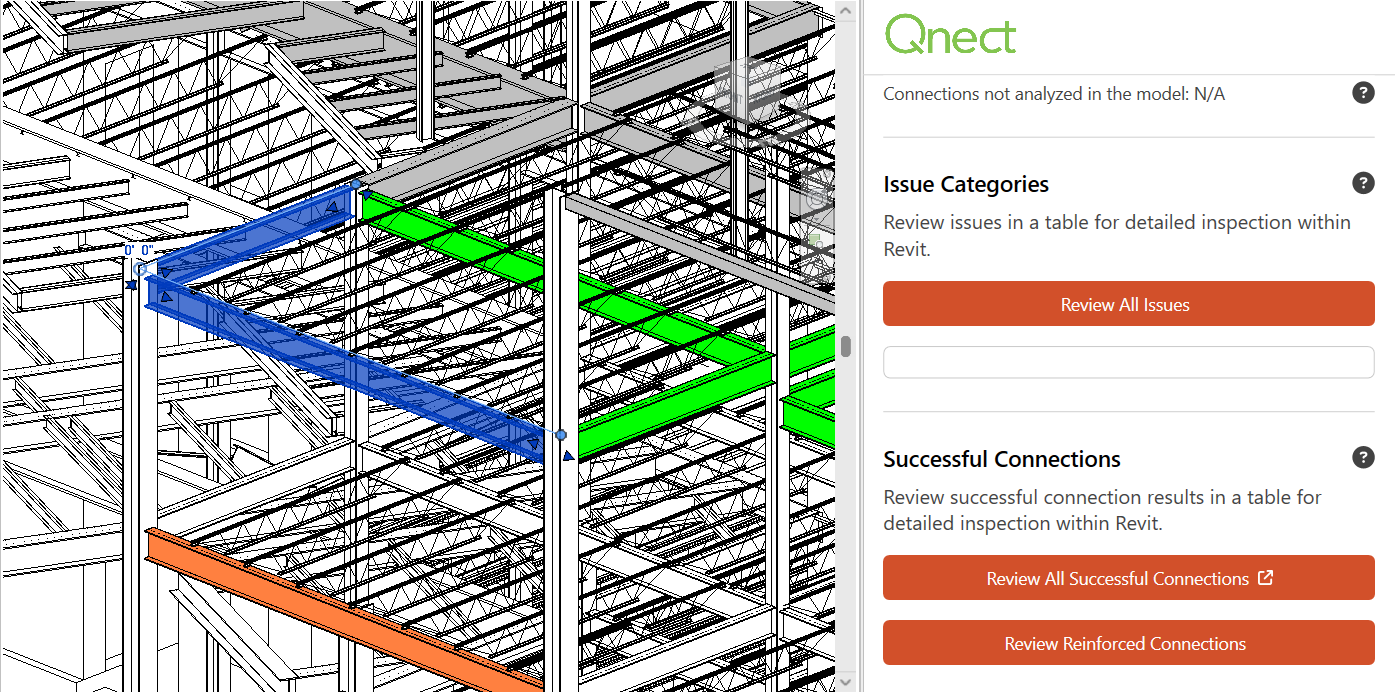 Review All Issues - This brings up a list view of issues and their descriptions. Users can select a row and it highlights the location in the model.
Review Successful Connections - Review all successful connections in the model to see which ones connect. Turn on other column fields to see the connection codes, design forces used, utility factors.
Review Reinforced Connections - lists out designed connections that require column stiffeners or web doublers, beam doublers, support stabilizer plates for columns or girders.
The view list gives a good overview of how many connections connect and don’t connect and where you need to focus next. To dig into the details of the connection designs and see the reports, or see the connections in 3D in the model, see sections below about viewing the data at the beam level or connection level.
 When exporting large models, users can select Cancel to review results on cloud only. Data will not be imported back to model.
Previously stored results are overwritten once another run is made.
Previously stored results are overwritten into the Revit parameters once another “session” run is made. There is no revision history to roll back to see past runs data for the same elements. To store such information, it is recommended to make a copy of a Revit model at different project milestones. To visualize what data is associated with a given session, users can turn on the Session column header in the review panel (see Help section above for Customizing the Review dialog).
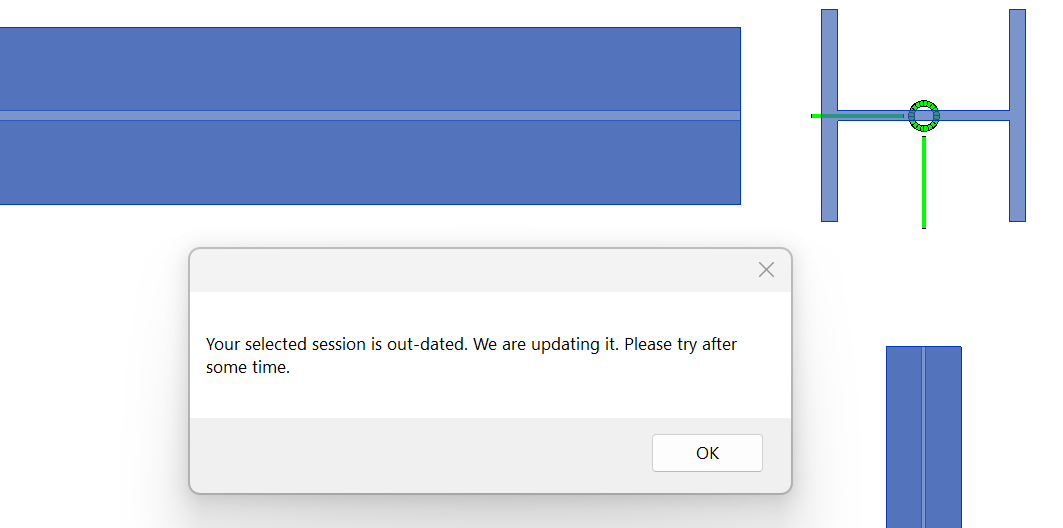
 If the user gets a “Your selected session is out-dated” warning box this means something happened where the data couldn’t be read on the server. This could be due to only unrecognized profiles being selected (like steel joists) or elements too far away from each other to form a joint (see image below). Another cause can be the server can’t be connected to. If the issue persists, wait a few minutes before trying again. If it continues contact Qnect support@qnect.com.